

When to use multi-shot prompting
Walkthrough: multi-shot image description
Here is a step-by-step walkthrough of building a multi-shot prompt that describes images in a consistent format:1
Add a System message
Write the instructions that set the model’s behavior and context.
2
Add a User message with an example input
Add a User message containing an example image (or text) that the model should process.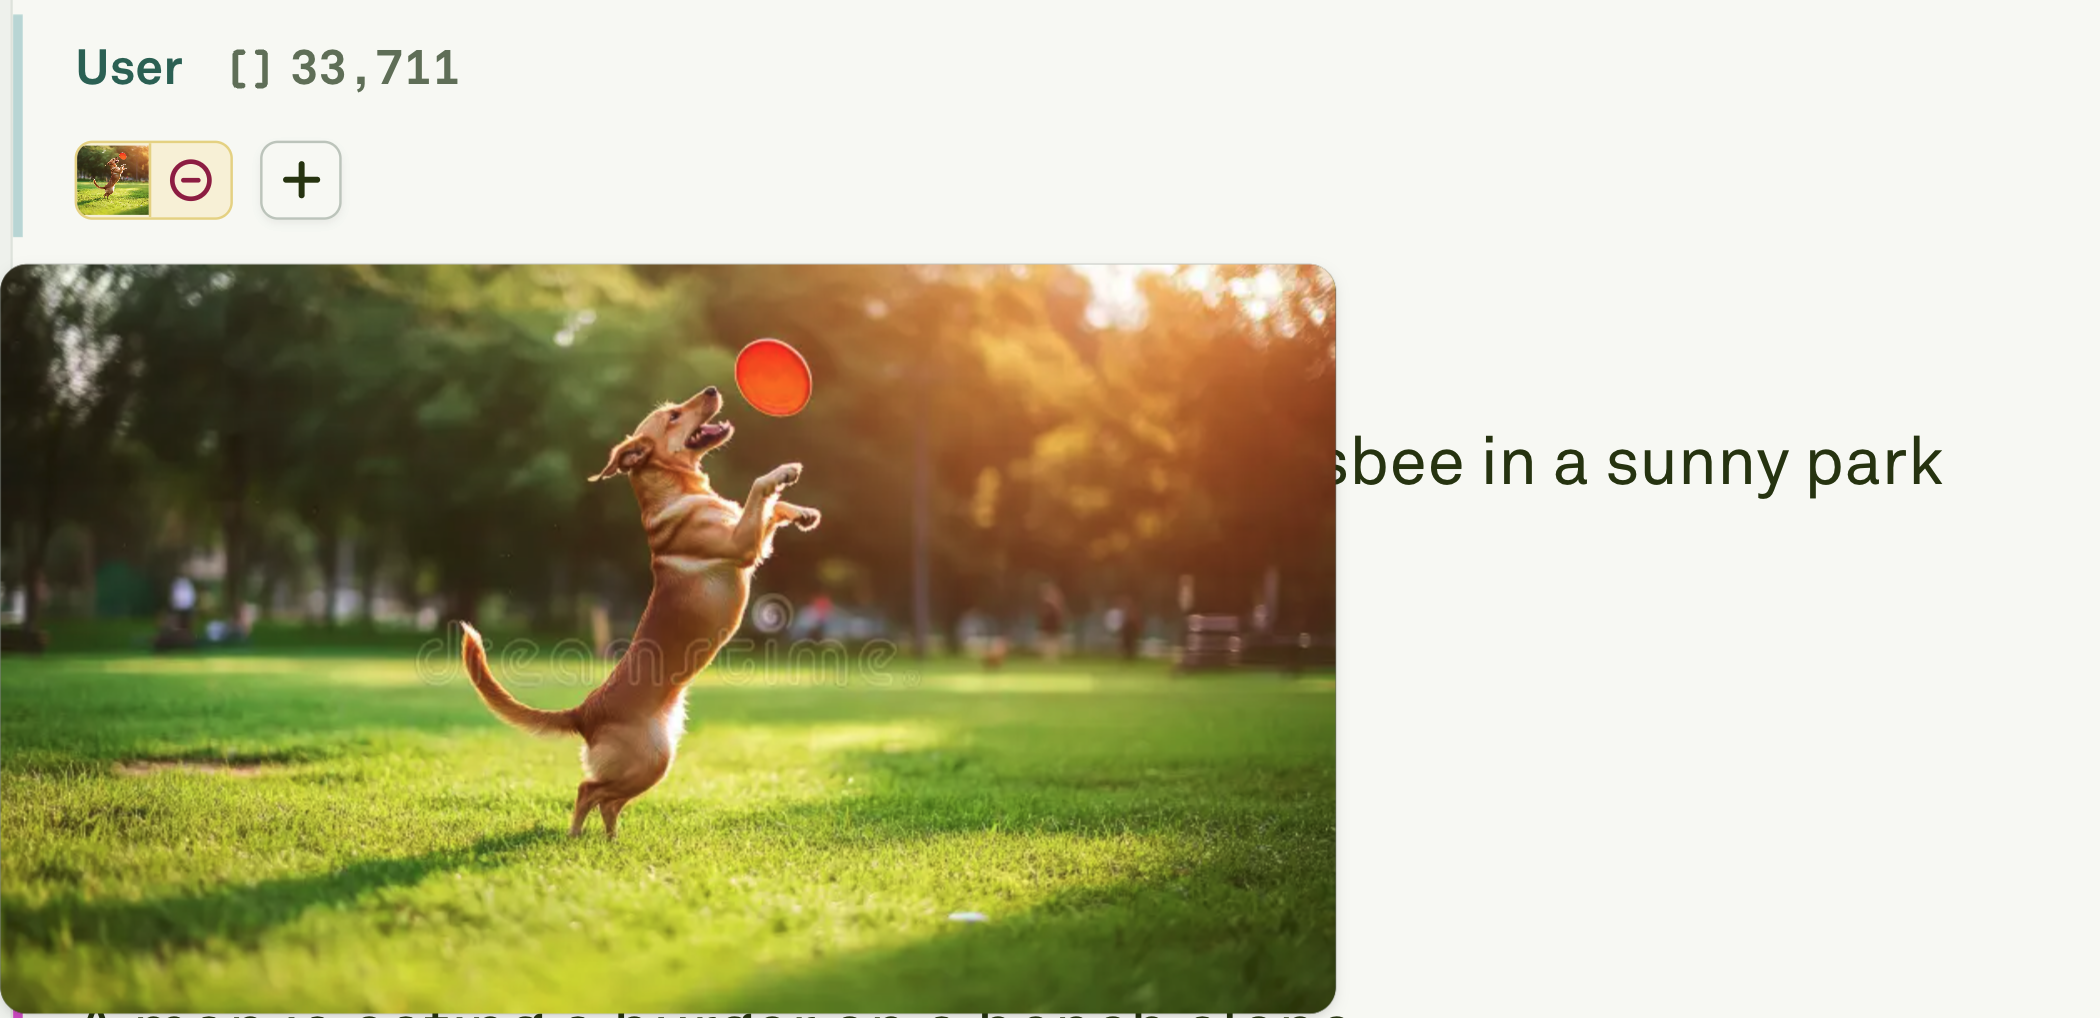
3
Add an Assistant message with the expected output
Add an Assistant message demonstrating exactly how you want the model to respond.
4
Add more example pairs
Repeat the User/Assistant pattern to provide additional examples. More examples generally improve consistency.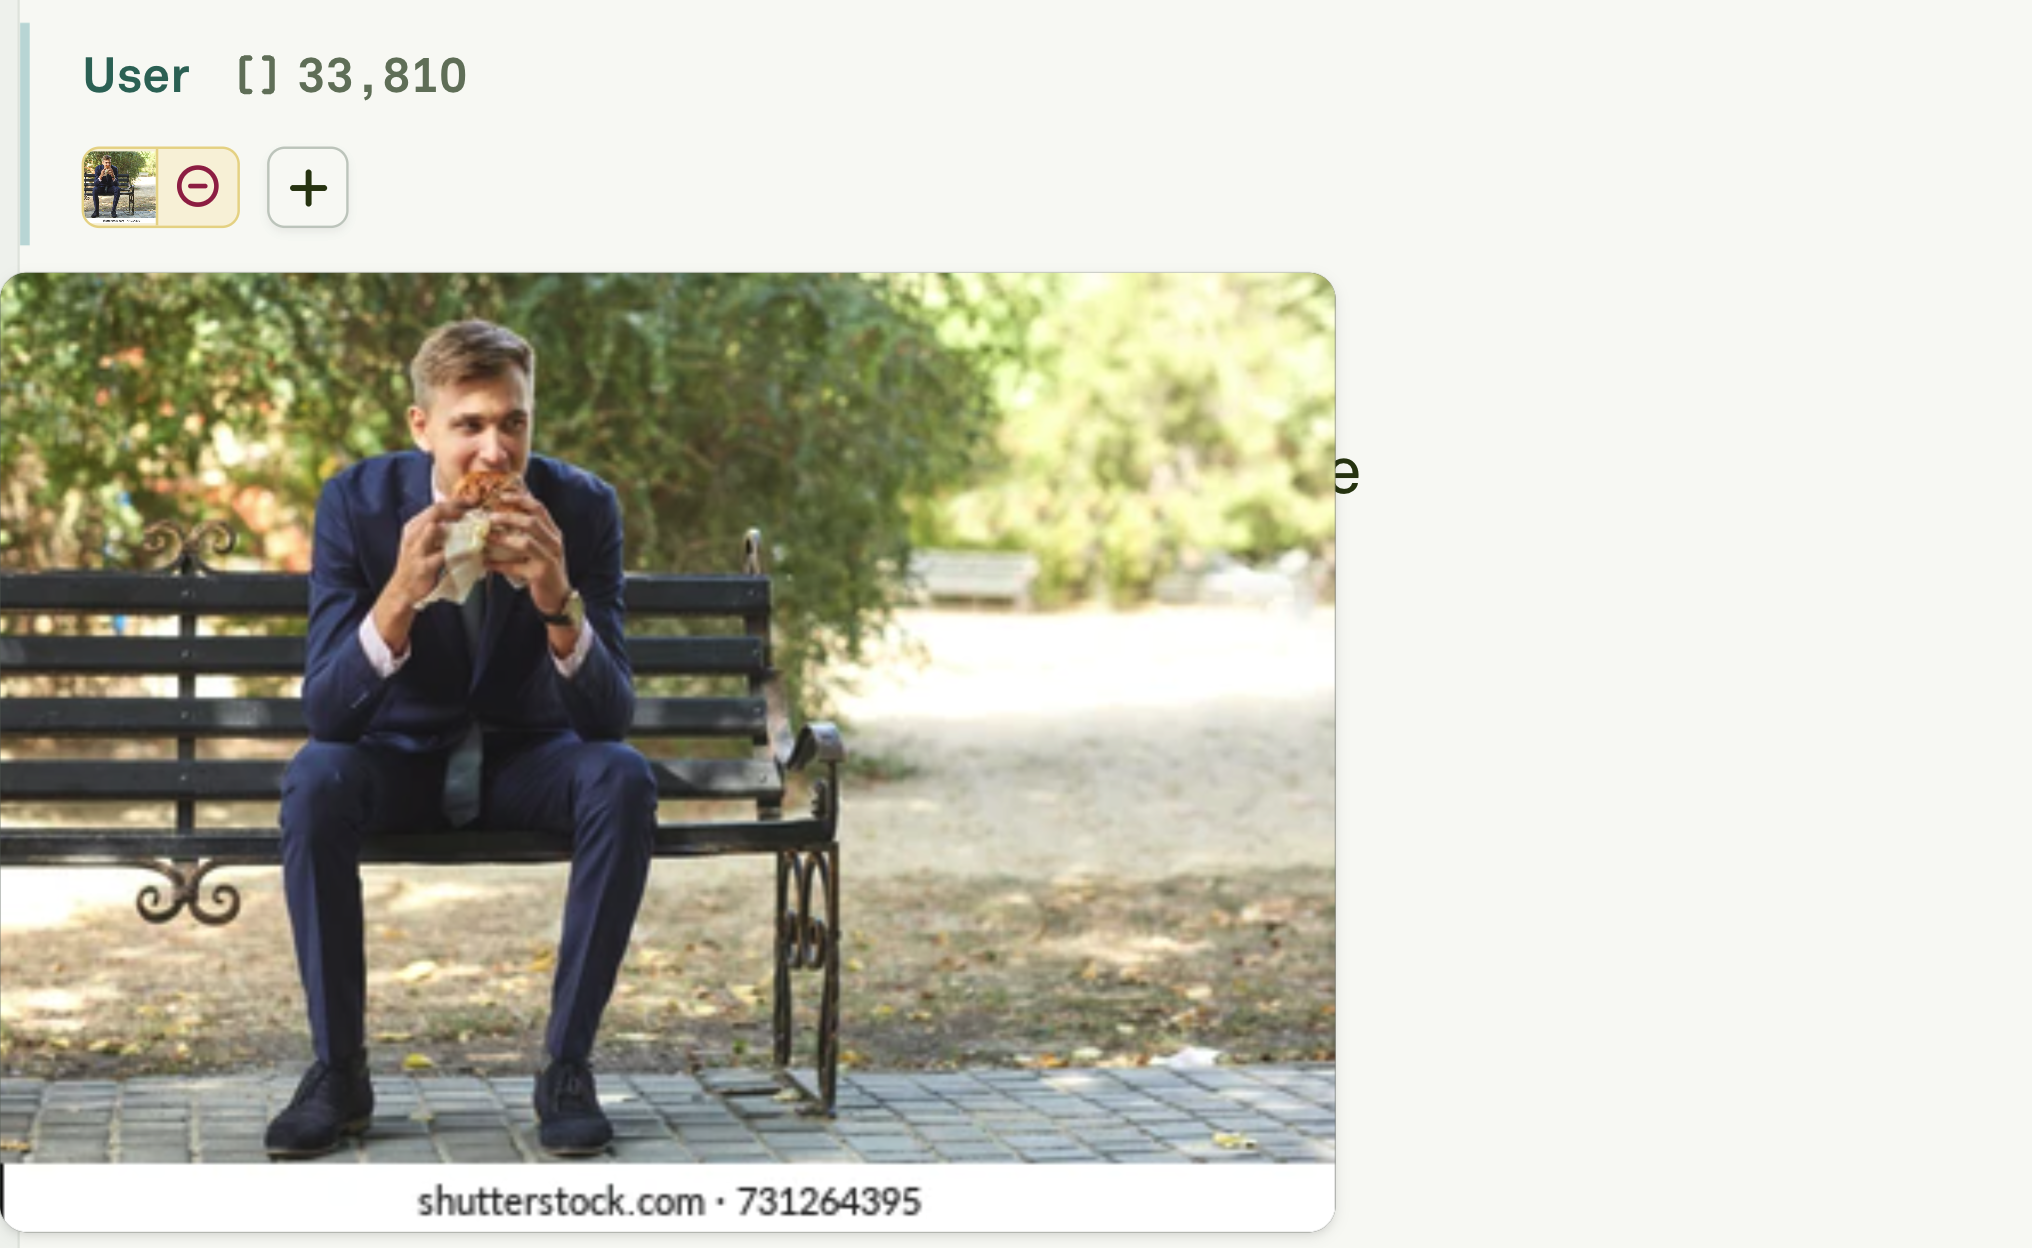

5
Add the actual input
Add the final User message with the real input the model should process.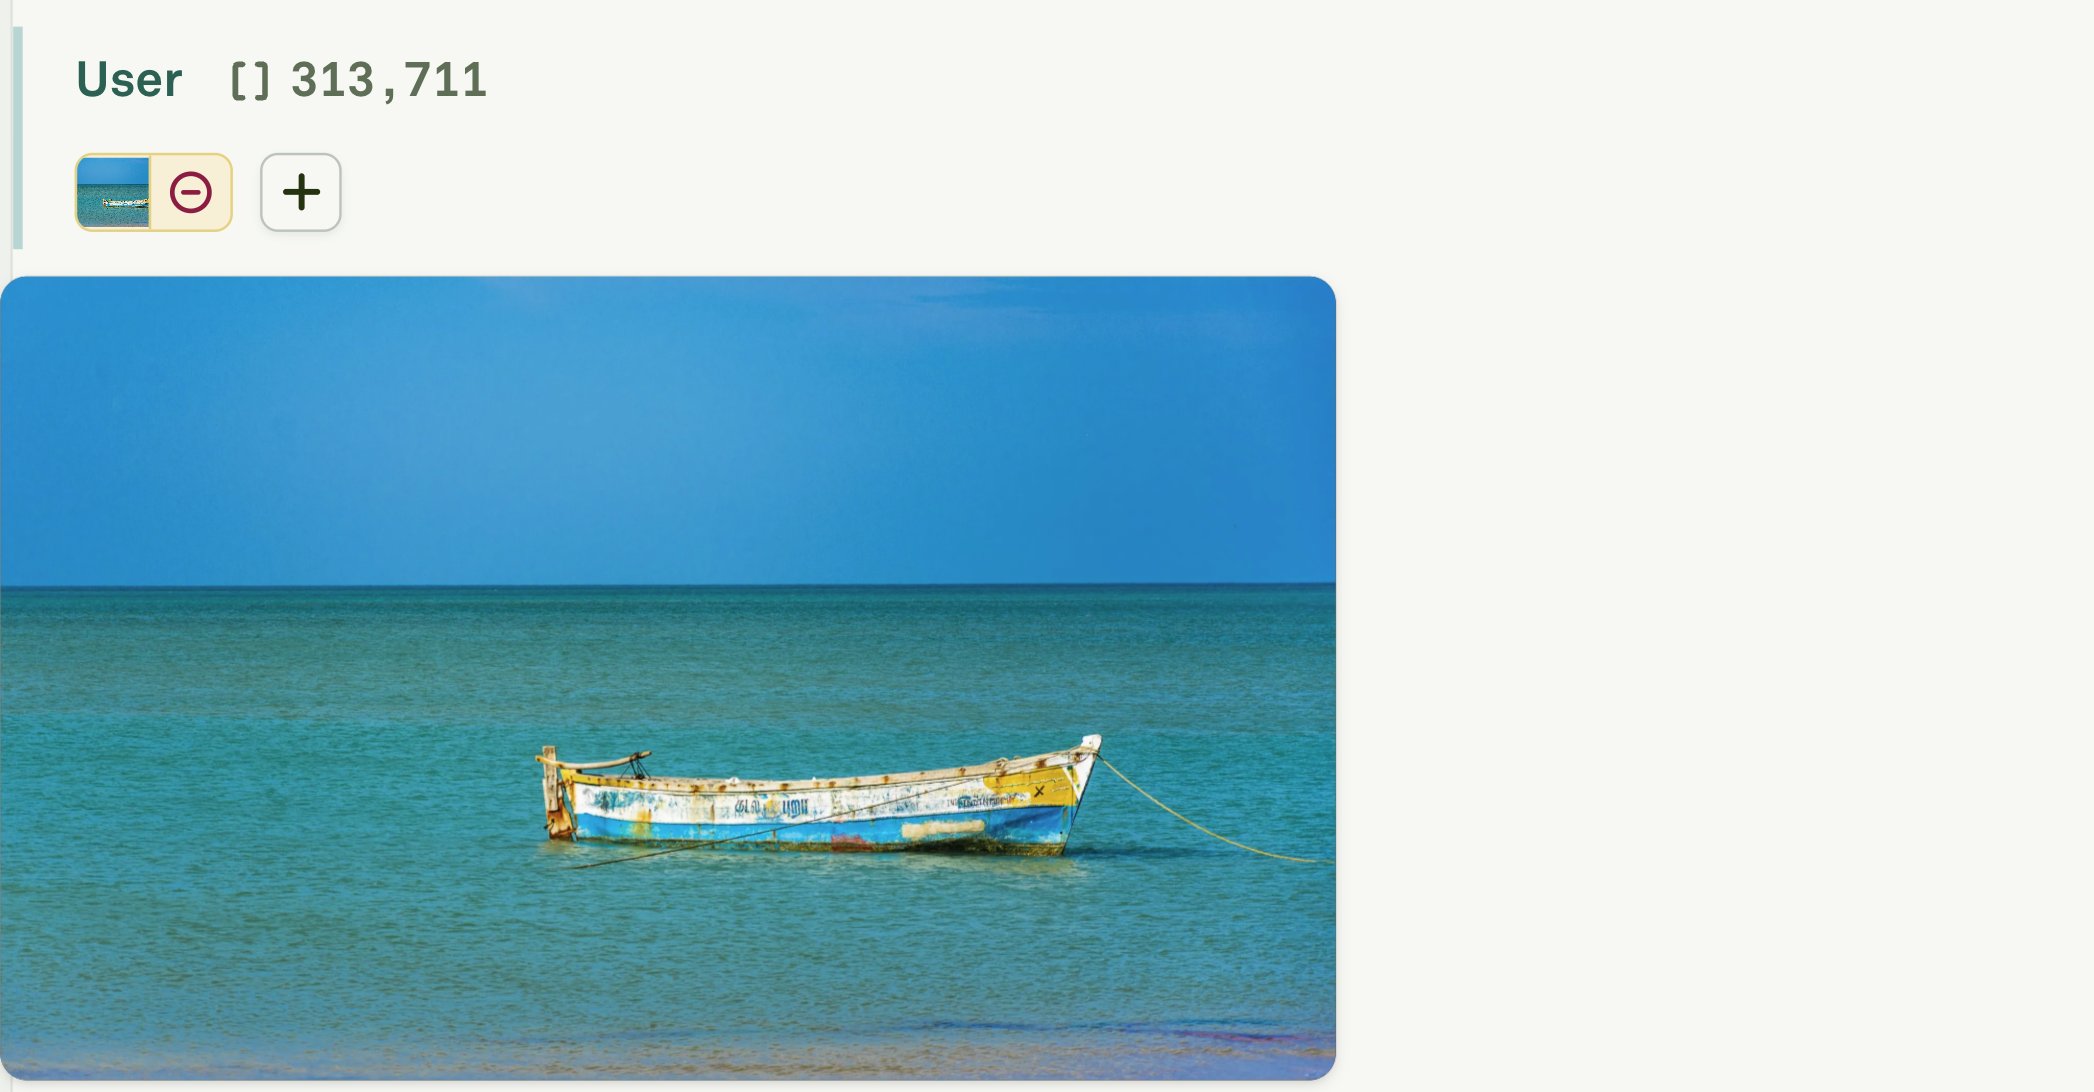
6
Run and verify
Run the prompt in the Playground and verify the response follows the pattern you demonstrated.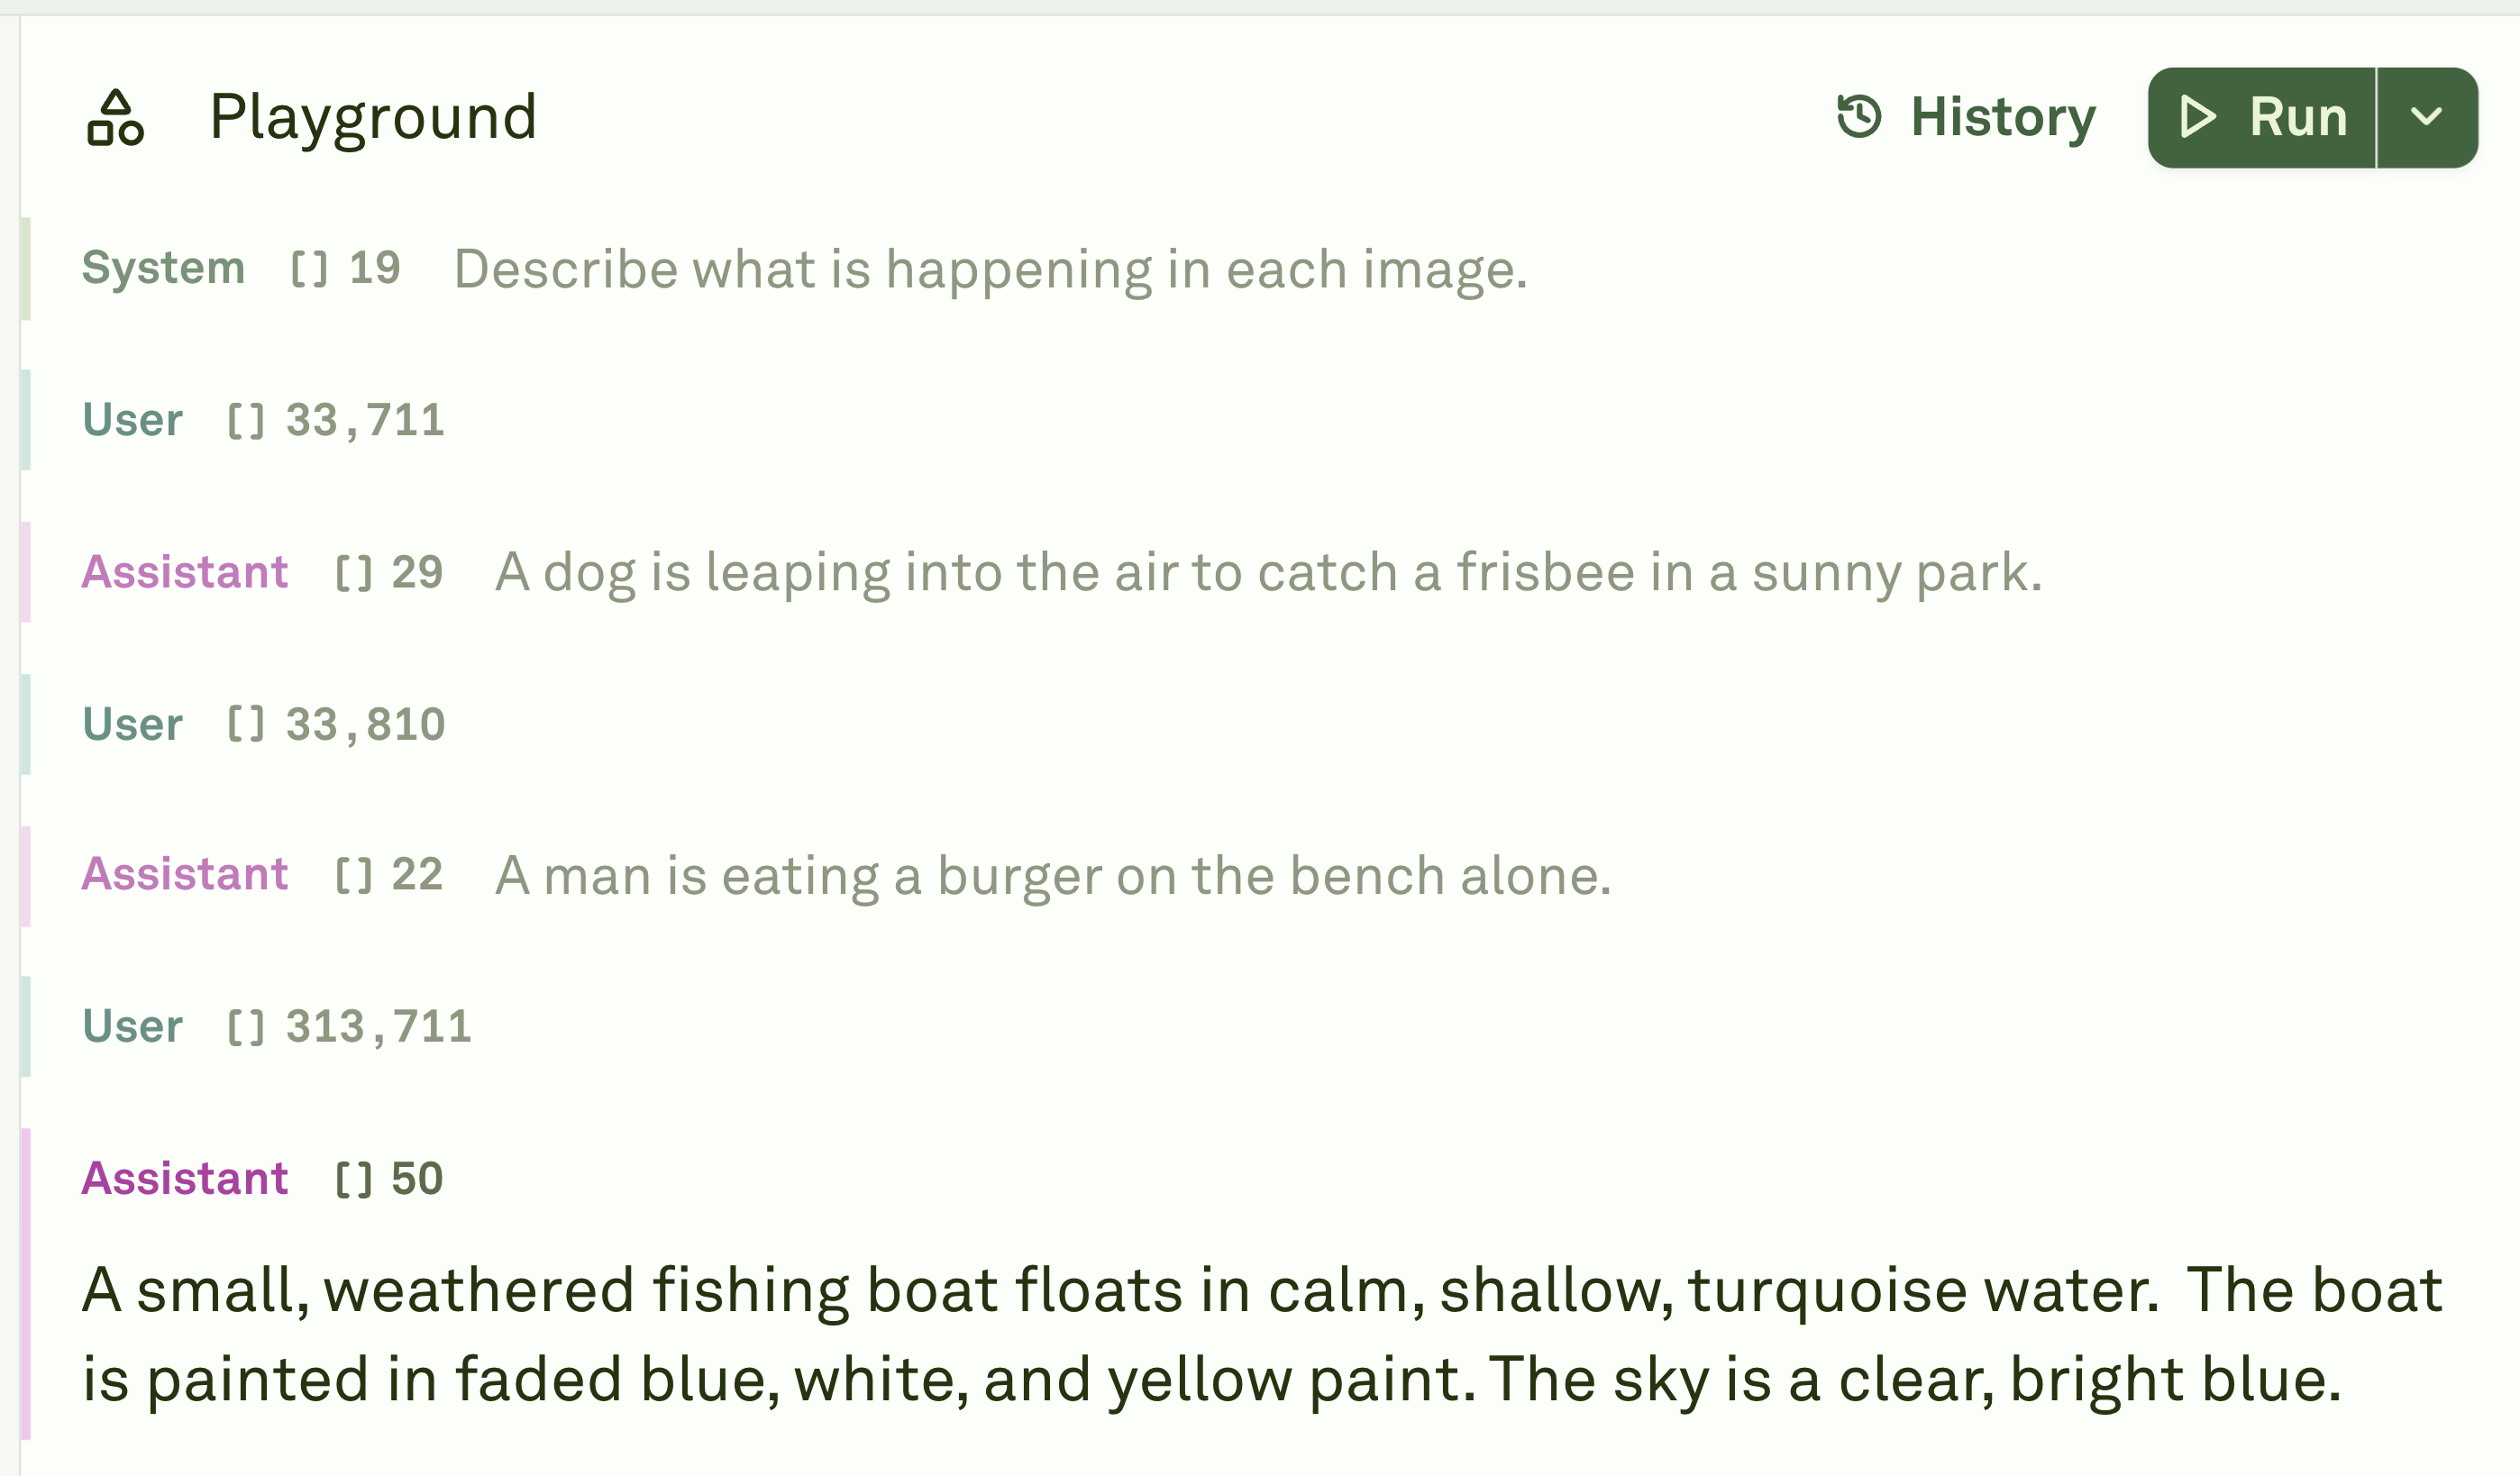
Best practices
- Keep examples consistent — Use the same structure, tone, and level of detail across all example pairs. The model mirrors the patterns it sees.
- Use realistic examples — Choose examples that closely resemble your actual use case. Synthetic or overly simple examples may not transfer well.
- Order matters — Place your strongest, most representative examples first. The model tends to weight earlier examples more heavily.
- Balance quantity and cost — Each example adds tokens. Two to three high-quality examples are often enough; add more only if output quality is inconsistent.
- Combine with variables — Use text variables or image variables in your final input message to make the prompt reusable across different inputs.
Next steps
Use Roles in Prompts
Learn about the role-based message structure that multi-shot prompts build on.
Run Prompts in Playground
Test your multi-shot prompts interactively with real inputs.