> ## Documentation Index
> Fetch the complete documentation index at: https://www.adaline.ai/docs/llms.txt
> Use this file to discover all available pages before exploring further.
# Multi-shot prompting
> Teach the model how to respond by providing example input/output pairs in your prompt
Multi-shot prompting (also called few-shot prompting) teaches the model how to respond by providing examples directly in the prompt. Instead of relying on instructions alone, you show the model concrete input/output pairs — and it learns to follow the same pattern for new inputs.
This technique uses the [role-based message structure](/docs/iterate/use-roles-in-prompt) to alternate between **User** messages (example inputs) and **Assistant** messages (expected outputs), preceded by a **System** message that sets the overall behavior.
## When to use multi-shot prompting
| Scenario | Why it helps |
| ---------------------------- | -------------------------------------------------------------------------------- |
| **Consistent output format** | Examples demonstrate the exact structure, length, and style you expect. |
| **Domain-specific tasks** | Examples ground the model in your specific terminology or classification scheme. |
| **Complex reasoning** | Step-by-step examples guide the model through multi-part logic. |
| **Reducing ambiguity** | Showing rather than telling eliminates guesswork about your intent. |
Start with a zero-shot prompt (no examples). If the model's output format or quality is inconsistent, add one or two examples. More examples generally improve consistency, but each one adds to the token count.
## Walkthrough: multi-shot image description
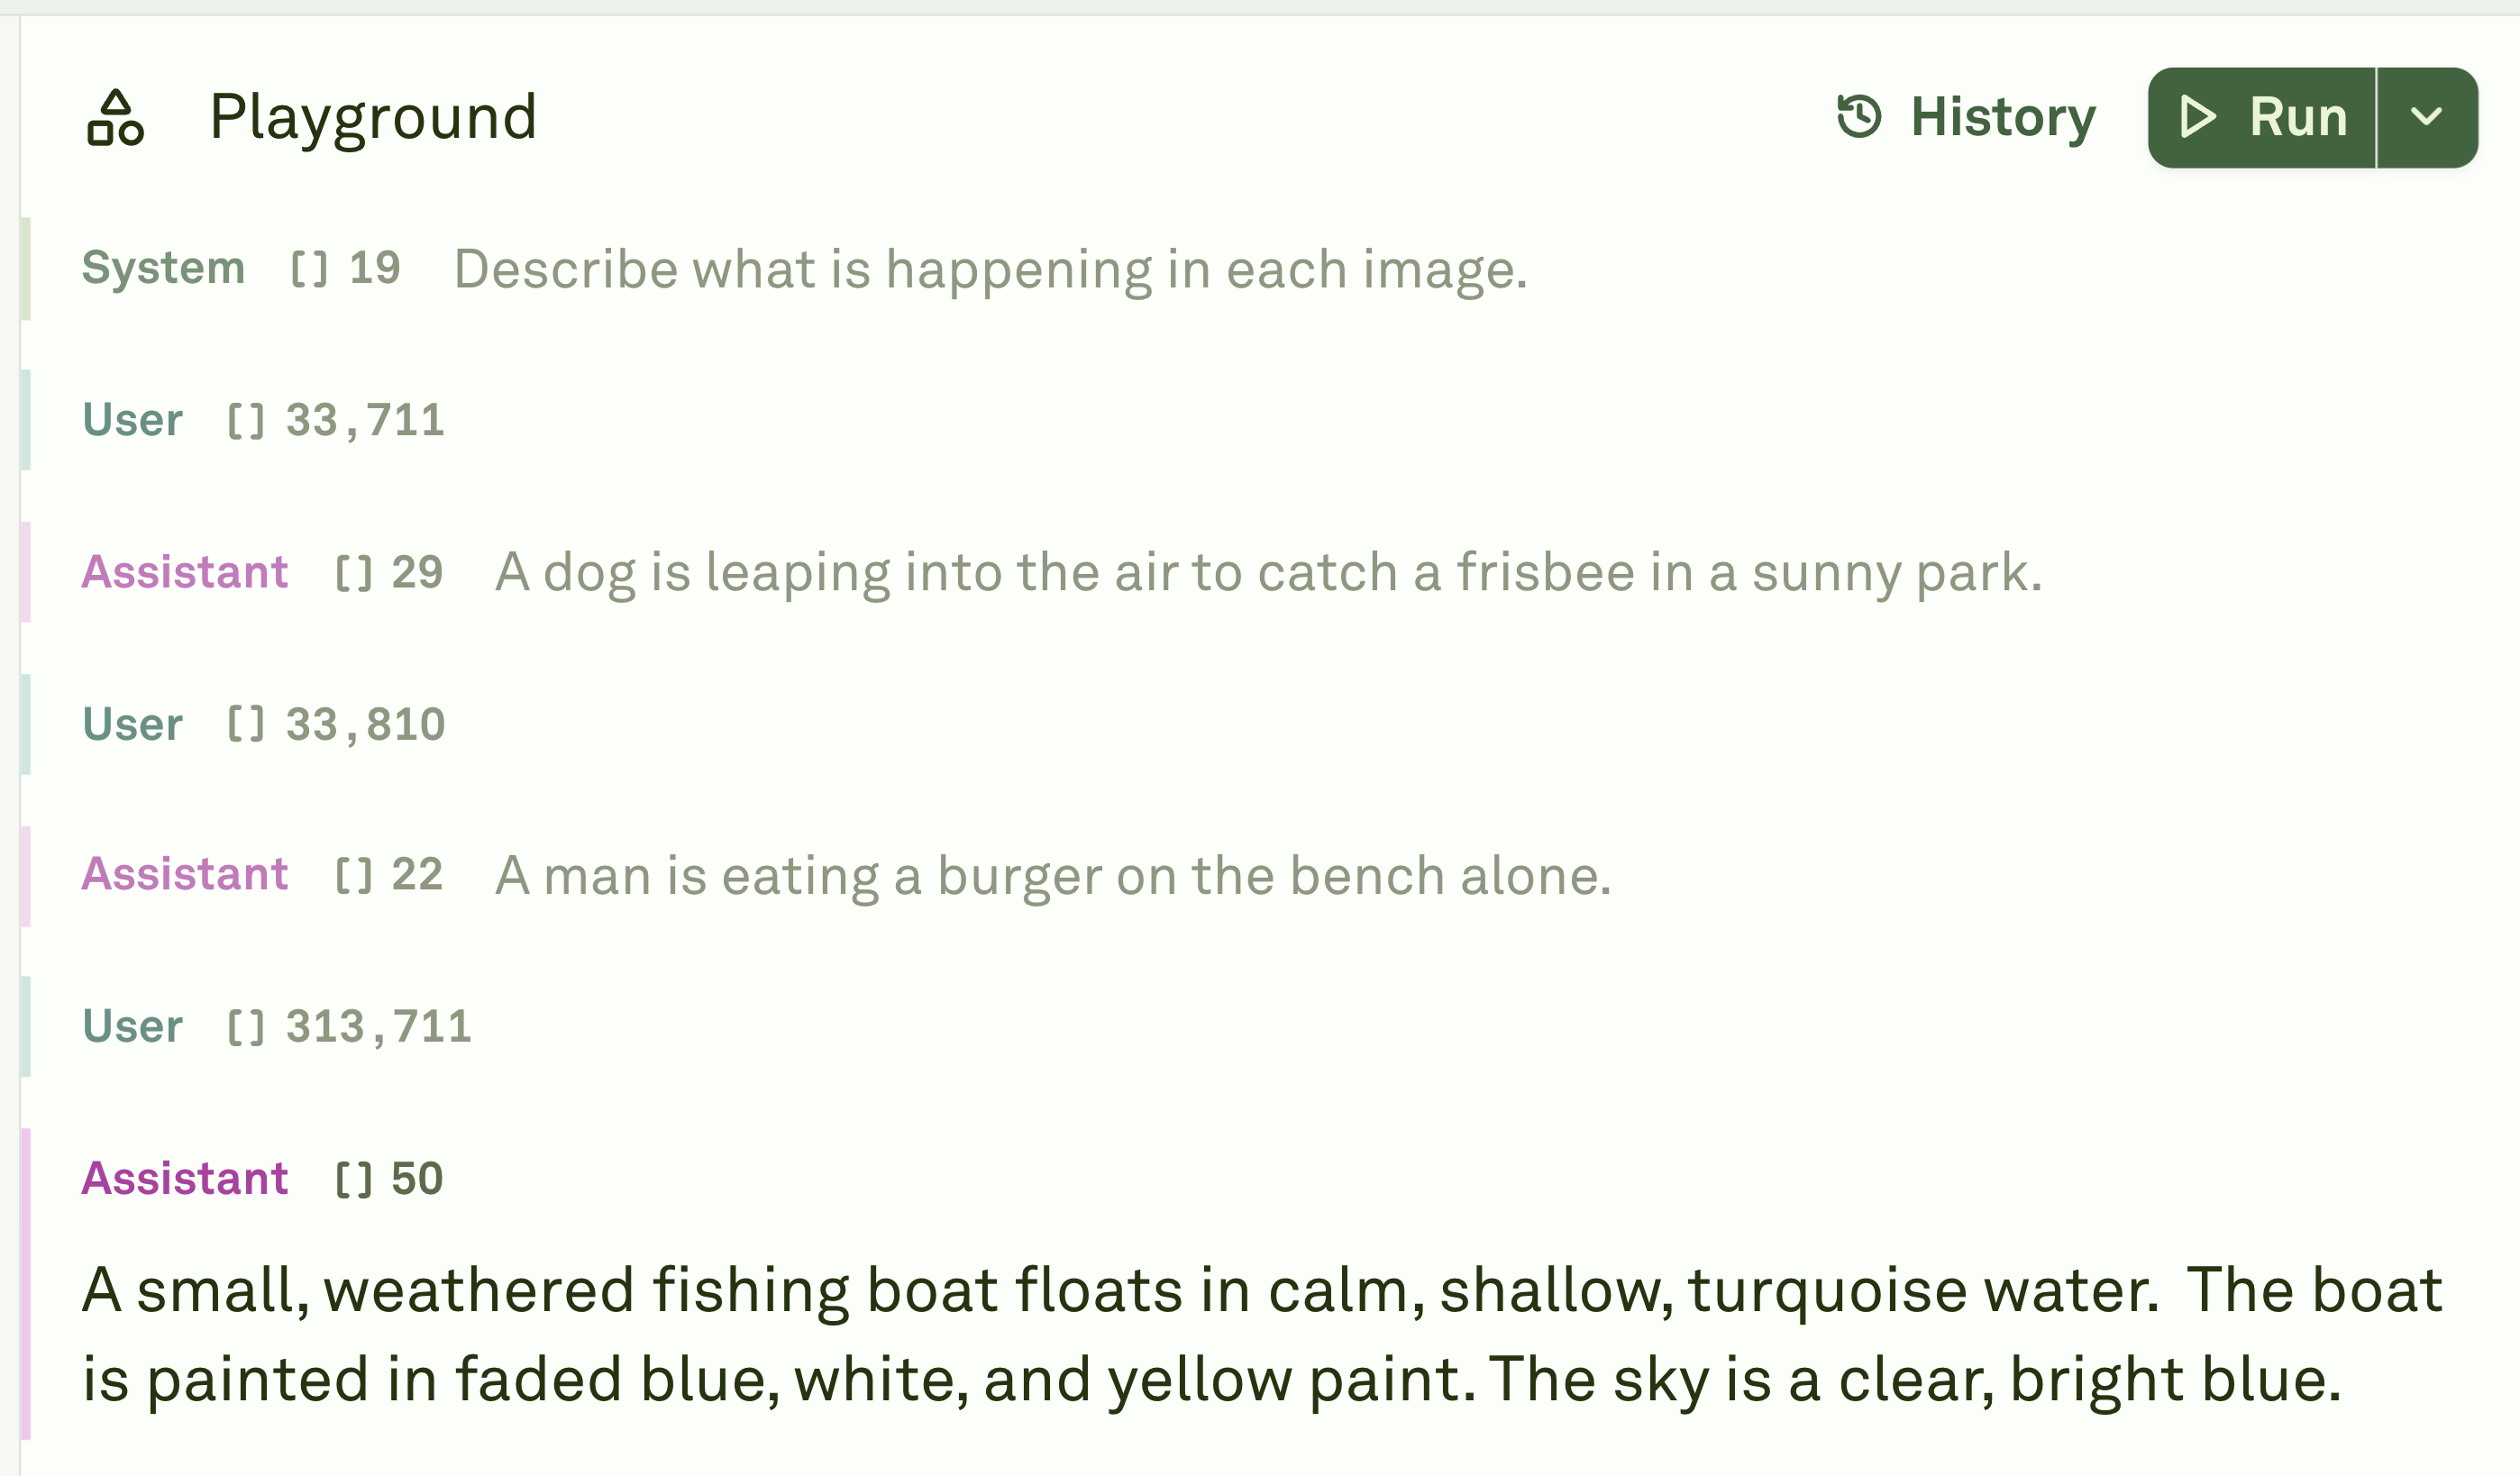
Here is a step-by-step walkthrough of building a multi-shot prompt that describes images in a consistent format:
Write the instructions that set the model's behavior and context.
 Add a User message containing an example image (or text) that the model should process.
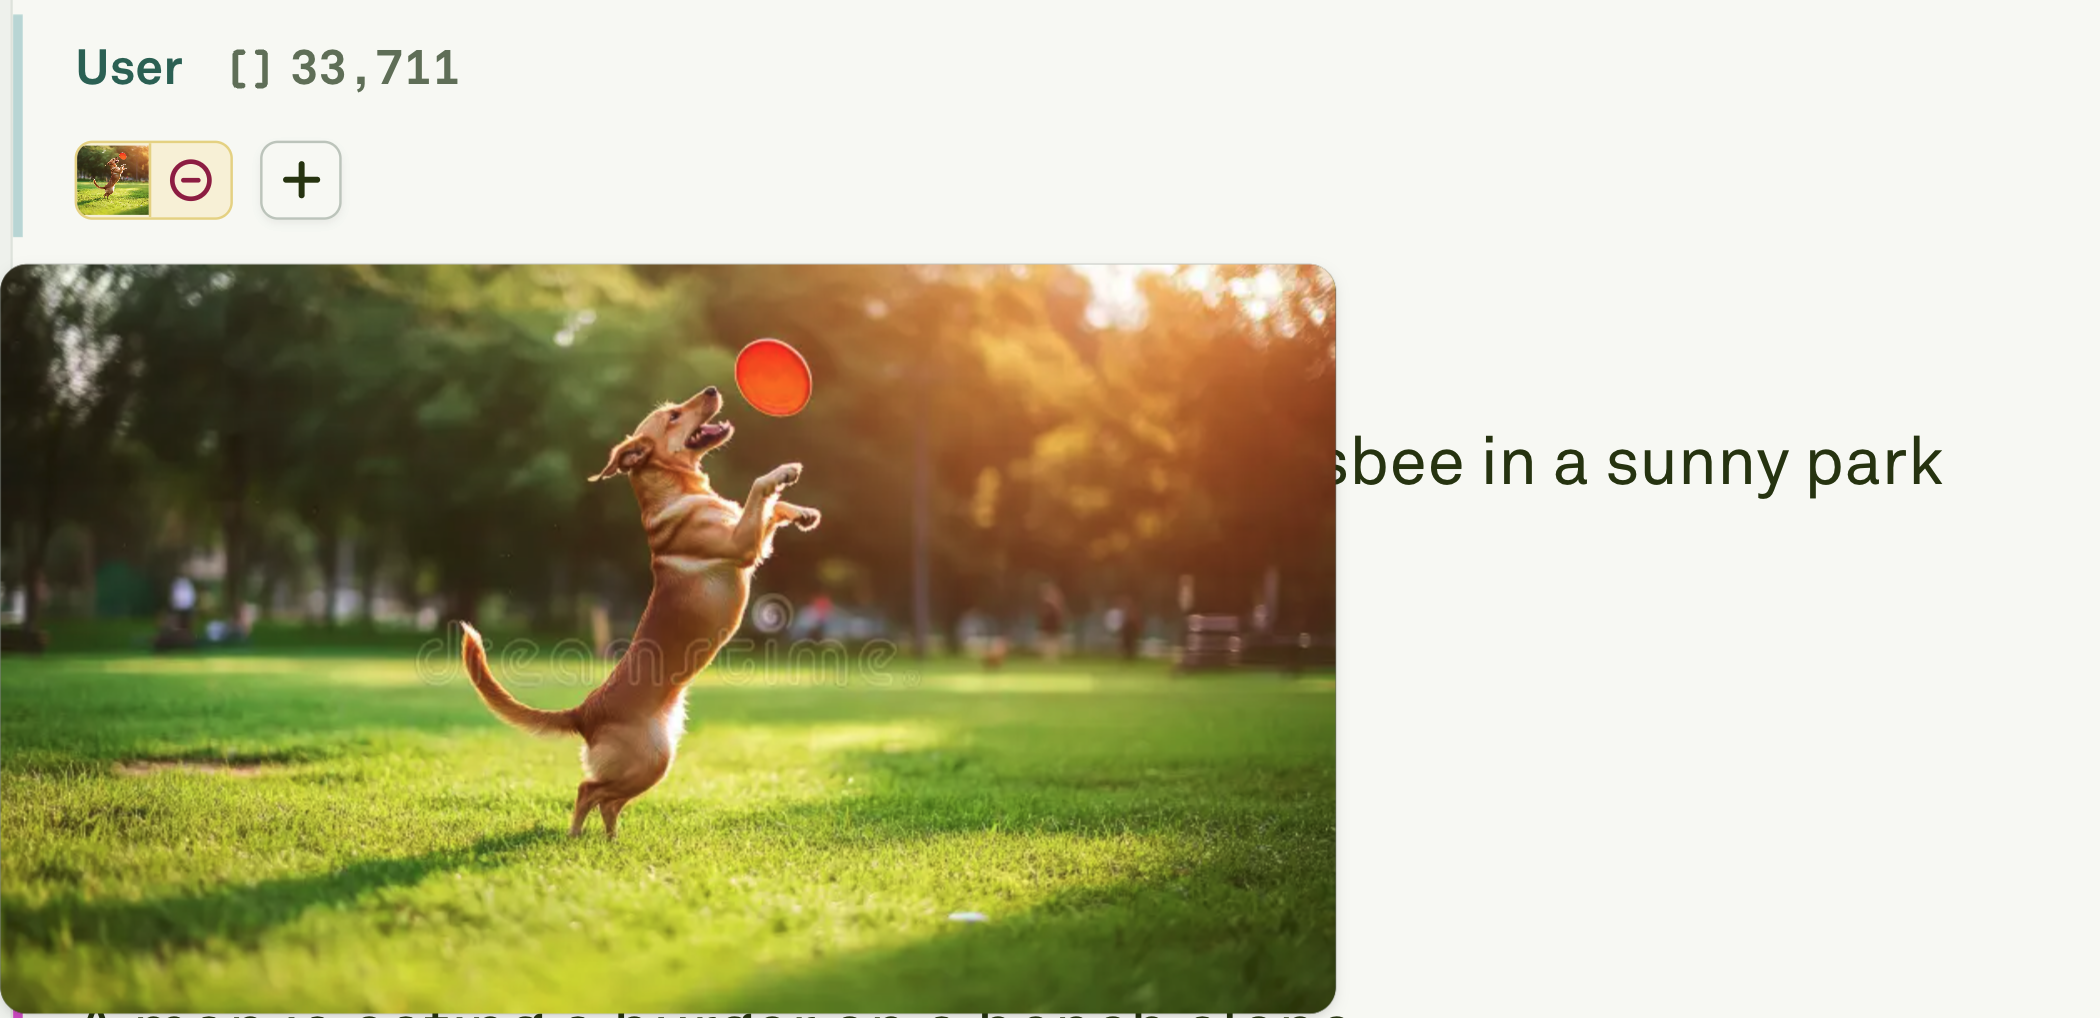 Add an Assistant message demonstrating exactly how you want the model to respond.
 Repeat the User/Assistant pattern to provide additional examples. More examples generally improve consistency.
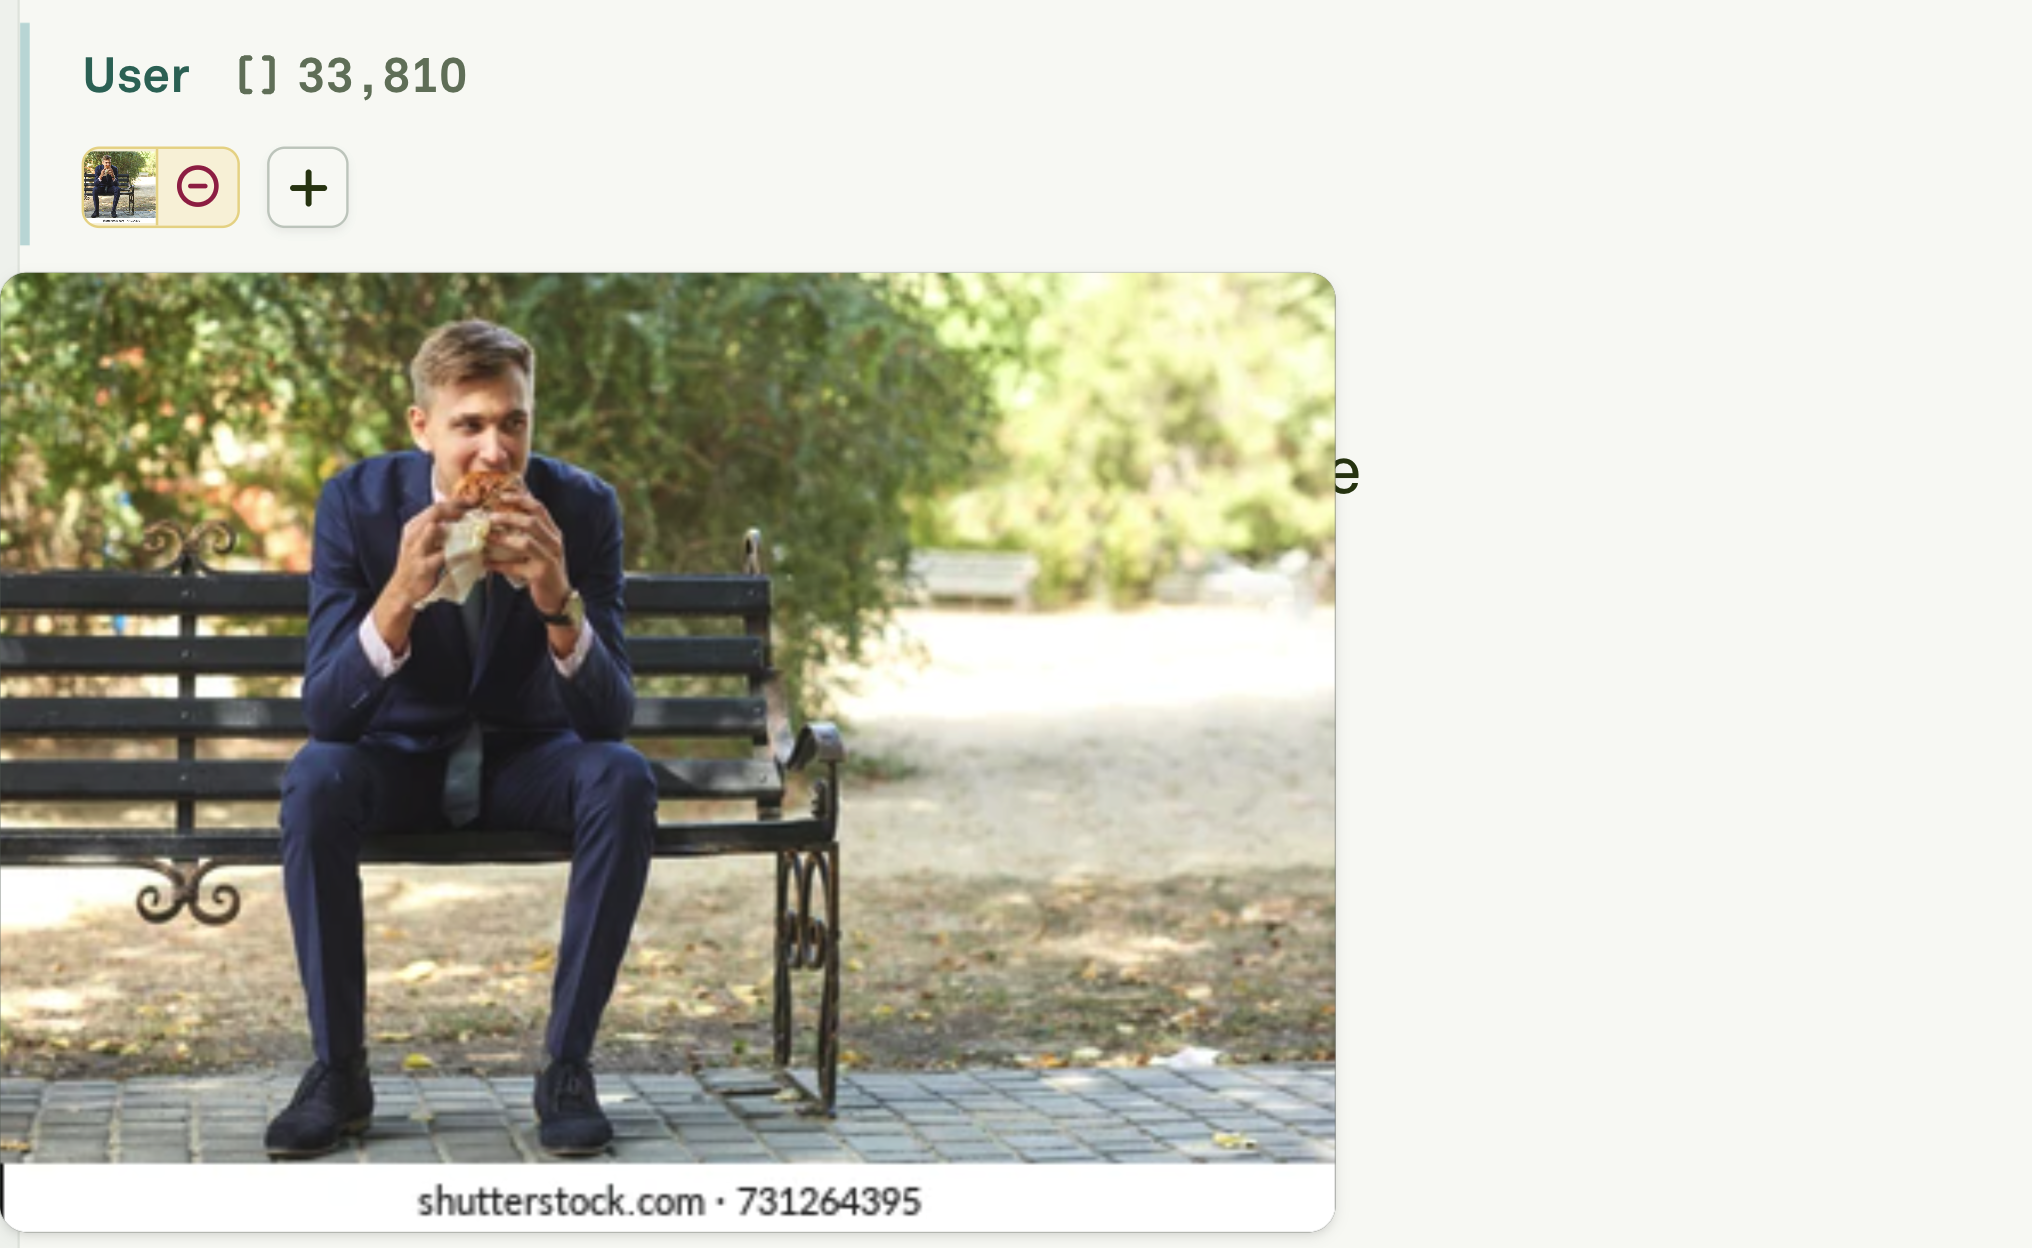
 Add the final User message with the real input the model should process.
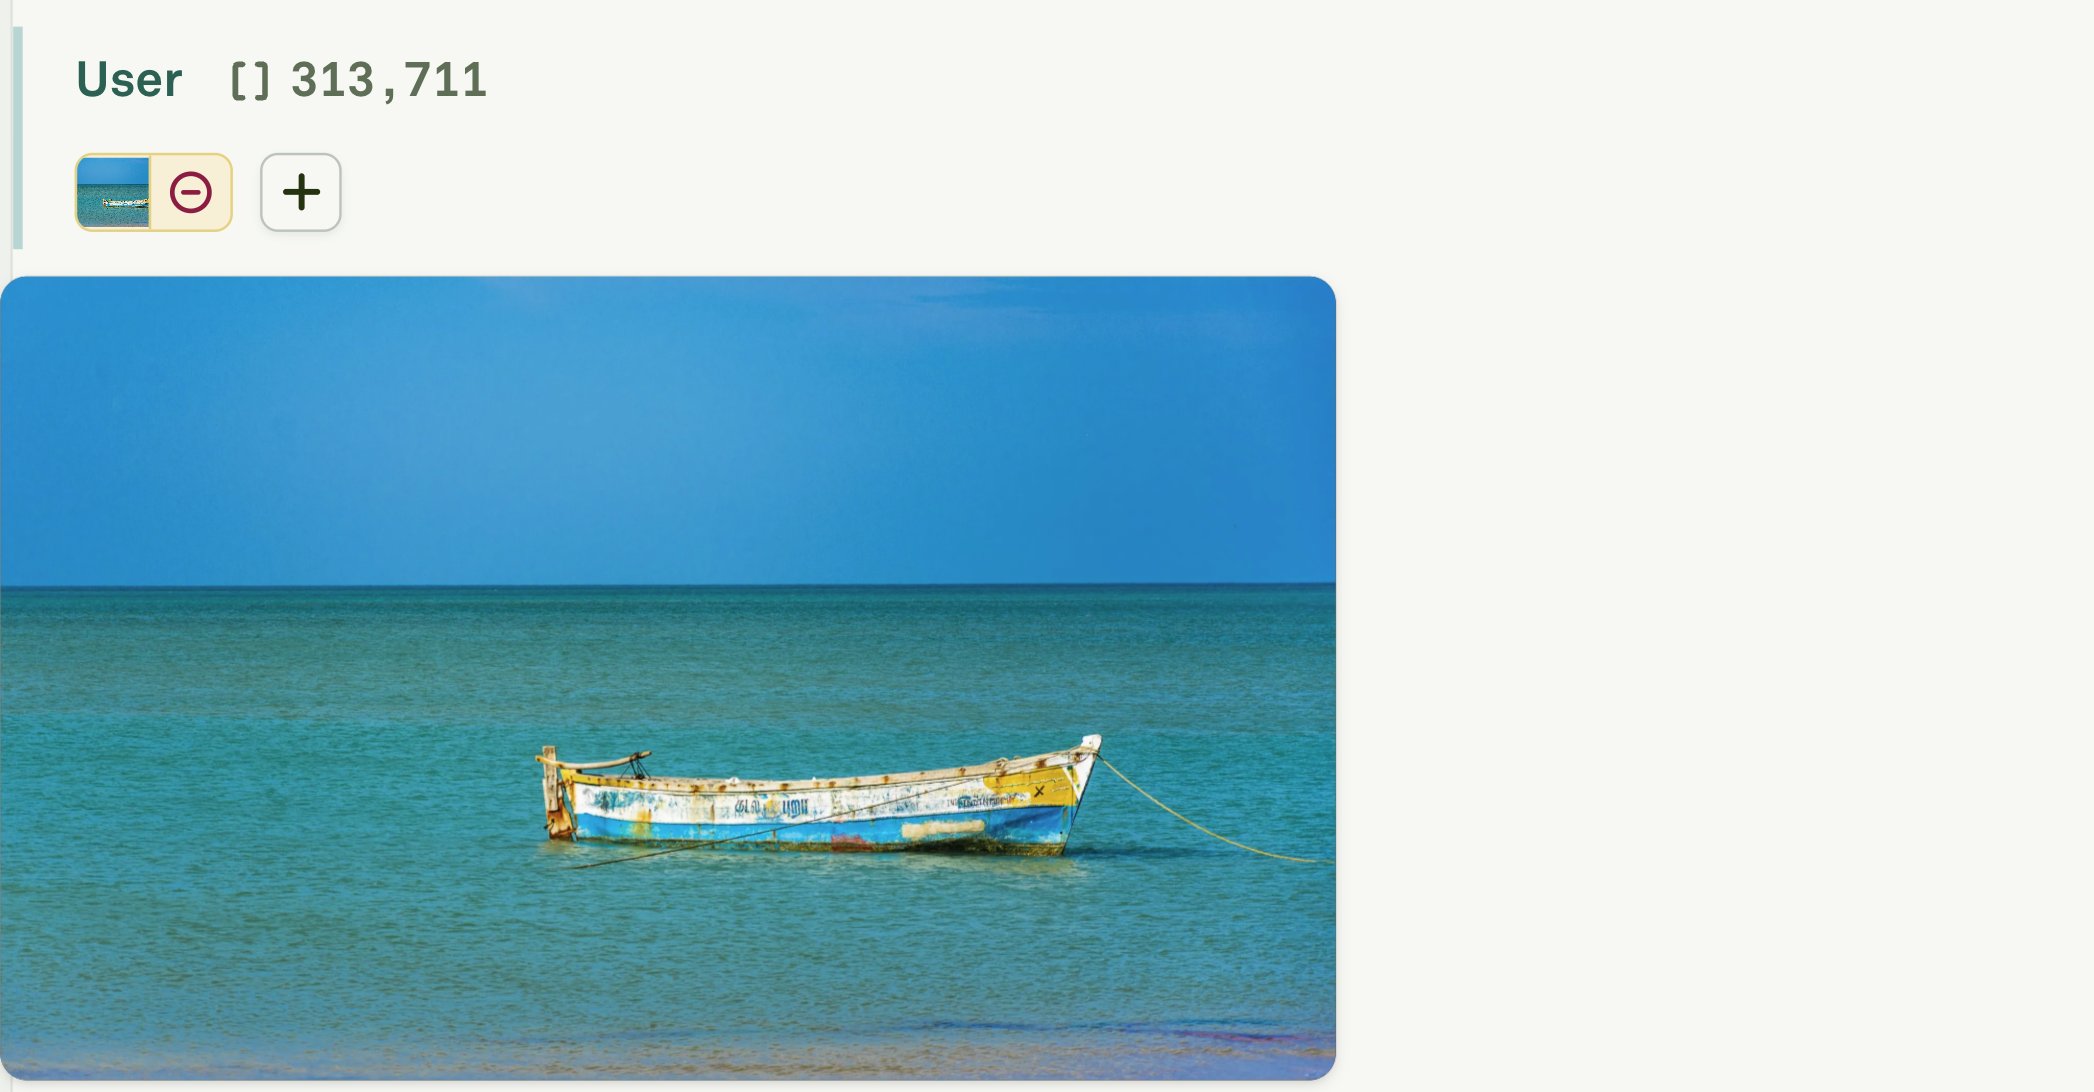 Run the prompt in the [Playground](/docs/iterate/run-prompts-in-playground) and verify the response follows the pattern you demonstrated.
 ## Best practices
* **Keep examples consistent** — Use the same structure, tone, and level of detail across all example pairs. The model mirrors the patterns it sees.
* **Use realistic examples** — Choose examples that closely resemble your actual use case. Synthetic or overly simple examples may not transfer well.
* **Order matters** — Place your strongest, most representative examples first. The model tends to weight earlier examples more heavily.
* **Balance quantity and cost** — Each example adds tokens. Two to three high-quality examples are often enough; add more only if output quality is inconsistent.
* **Combine with variables** — Use [text variables](/docs/iterate/use-text-in-prompt#use-variables-in-text) or [image variables](/docs/iterate/use-images-in-prompt#use-image-variables) in your final input message to make the prompt reusable across different inputs.
## Next steps
Learn about the role-based message structure that multi-shot prompts build on.
Test your multi-shot prompts interactively with real inputs.
## Best practices
* **Keep examples consistent** — Use the same structure, tone, and level of detail across all example pairs. The model mirrors the patterns it sees.
* **Use realistic examples** — Choose examples that closely resemble your actual use case. Synthetic or overly simple examples may not transfer well.
* **Order matters** — Place your strongest, most representative examples first. The model tends to weight earlier examples more heavily.
* **Balance quantity and cost** — Each example adds tokens. Two to three high-quality examples are often enough; add more only if output quality is inconsistent.
* **Combine with variables** — Use [text variables](/docs/iterate/use-text-in-prompt#use-variables-in-text) or [image variables](/docs/iterate/use-images-in-prompt#use-image-variables) in your final input message to make the prompt reusable across different inputs.
## Next steps
Learn about the role-based message structure that multi-shot prompts build on.
Test your multi-shot prompts interactively with real inputs.